Stone Walling Techniques for Rural Boundaries: Dry Stone, Mortared, and Everything Between
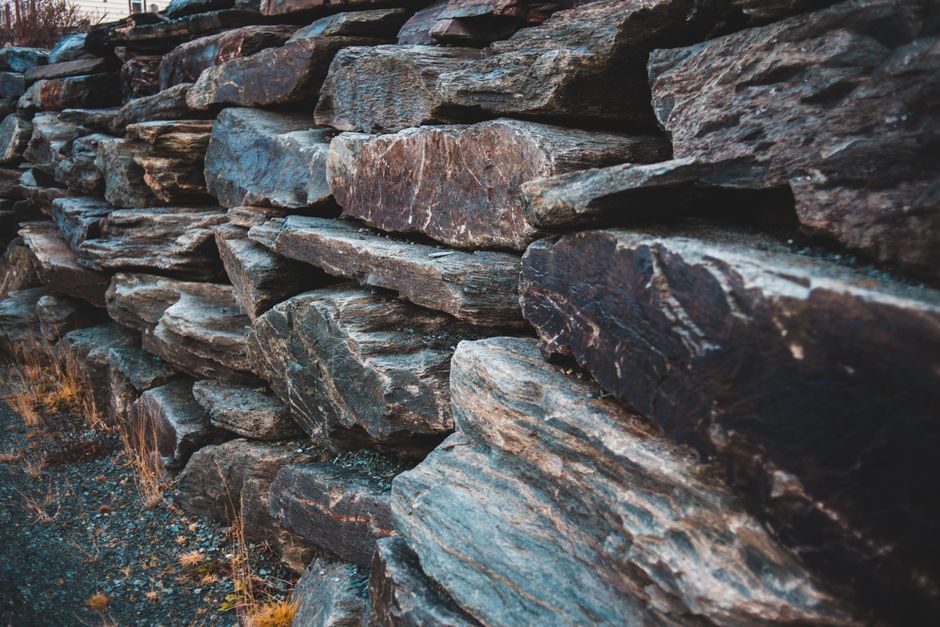
Drive through almost any rural landscape in Britain and you will eventually pass a stone wall doing quiet, unglamorous work at the edge of a field. Some have stood for two hundred years without a drop of mortar. Others, built barely a generation ago, are already leaning. The difference rarely comes down to the stone itself. It comes down to how the wall was put together, and whether the person building it understood what the wall was actually being asked to do.
Boundary walls in rural settings serve several purposes at once. They mark ownership, contain livestock, shelter crops from wind, and provide habitat for everything from slowworms to lichens. The technique chosen for a wall usually reflected what was locally available: limestone in the Cotswolds, granite in the southwest, sandstone in the borders, and flint in the east. Understanding the local tradition matters, because a wall rebuilt in a foreign style will look wrong even if it is structurally sound.
Dry Stone: Structure Through Friction and Gravity
Dry stone walling is the older tradition and, in many ways, the more demanding one. Every stone is placed by hand, with no binding agent. Stability comes from careful selection, a slight batter (the wall tapers inward as it rises), and through-stones placed at intervals to tie the two faces together. The interior is filled with smaller hearting stones that stop the faces from collapsing inward.
What surprises many people is how much of the skill lies in reading the stone. A good waller will sort a pile of rough rubble into face stones, cope stones, and hearting before laying a single one. The wall is not really a solid mass; it is two independent skins bound by friction, gravity, and the occasional long stone that spans the full width. Get the batter wrong or skip the through-stones and the wall will bulge and fail within a few winters.
Repairing dry stone is often possible without dismantling entire sections. A competent waller can lift a bulging face, rebuild it, and re-key it into the surrounding wall. This is almost always preferable to a full rebuild, both for cost and because it preserves the original stone and its weathering.
Mortared Rubble and the Question of Repointing
Mortared rubble walls appeared widely from the eighteenth century onward, particularly where stone was too irregular for dry laying or where a stronger barrier was needed. These walls rely on a lime mortar to bind the stones and to shed water. The mortar must be softer than the stone. This is not a stylistic preference; it is physics. A hard cement mortar traps moisture inside the wall, and when that moisture freezes, it spalls the face of the stone. Lime mortar, by contrast, is sacrificial. It cracks, erodes, and can be replaced.
If you own a mortared wall and the pointing has failed, resist the urge to reach for a bag of cement. Rake out the old mortar carefully, match the original mix as closely as you can, and repoint with a lime putty or natural hydraulic lime appropriate to the exposure. Deeply recessed joints, finished with a brush rather than a trowel, are usually correct for historic work. A flush, ribbon-pointed joint in grey cement is the single clearest sign that a wall has been mistreated.
Before any repair, walk the wall in winter. Note where water sits, where the ground moves, and where trees are pushing roots underneath. A wall that is failing because of drainage or root pressure will keep failing no matter how well you rebuild the stonework.